ST Hosting Manual
Our manual
Install Wordpress in 5 minutes
Install WordPress in just a few minutes
You want to create a new website based on WordPress but don't know how? In this post, we'll show you two ways you can easily install WordPress on a web space or our WordPress hosting. Don't worry, the process is easy for beginners to handle. We'll guide you step by step on how to proceed.
With our hosting packages, you have two options for installing WordPress.
- You can use the classic installation, where you need to upload all the data to your web space via FTP.
- Instead of the complex FTP method, our WordPress hosting packages offer the option to use the WordPress Toolkit by Plesk, which allows you to install WordPress in under 5 minutes with a few clicks.
Prerequisites: Linking Domain with Plesk
Before you can use WordPress with your domain, you need to link it to your web hosting package. If you're not sure how to do this, you can find instructions here: DNS entries for web hosting.
Option 1: Plesk WordPress Toolkit
When installing WordPress through the Plesk WordPress Toolkit, you'll get many benefits, such as managing plugins, themes, and updates directly from the Plesk interface. To use this option, you need hosting that is based on Plesk and offers the WordPress Toolkit.
Step 1: Login to Plesk
To begin, log in to the Plesk interface. You can do this with your login credentials, which we sent you via email after your order. An even easier way is to use the SSO link in the customer center. This will take you directly to the Plesk interface without entering a username and password.
On the homepage of the Plesk interface, you'll find the option to start the WordPress installation. To start the installation, simply click on the "Install" button next to the WordPress logo.
Step 2: Install WordPress
In the first and final step of the installation, you need to select your domain, set the title of your website, and provide the email address for your WordPress admin user. Additionally, you should adjust the language of your installation to your desired language.
Under "Settings for automatic updates," you can enable automatic installation of updates for plugins and themes (if possible).
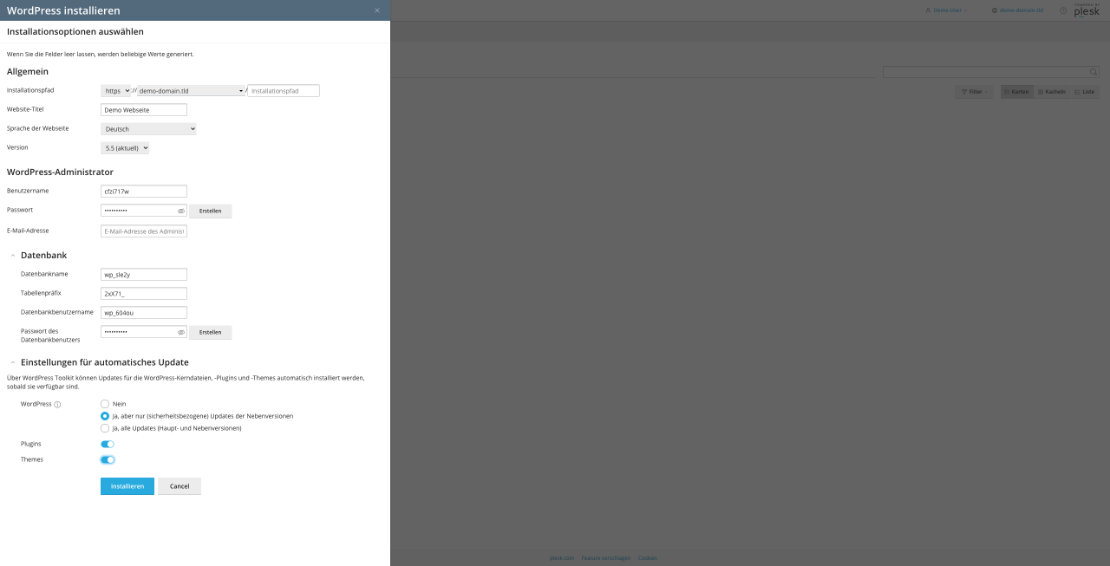
To begin the installation, simply click on "Install." After a few seconds, you will be shown that the installation has been completed.
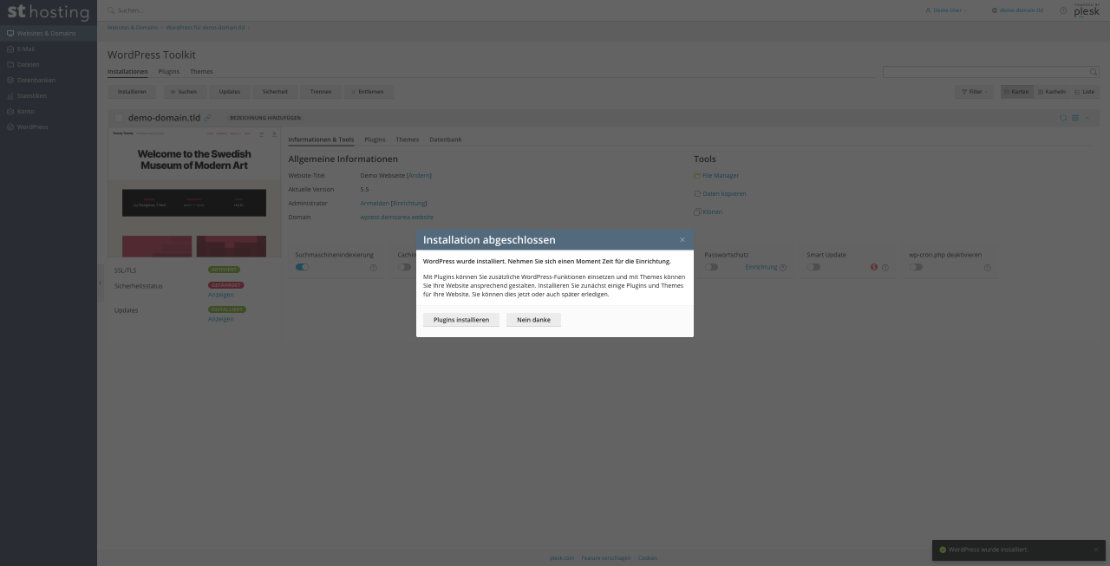
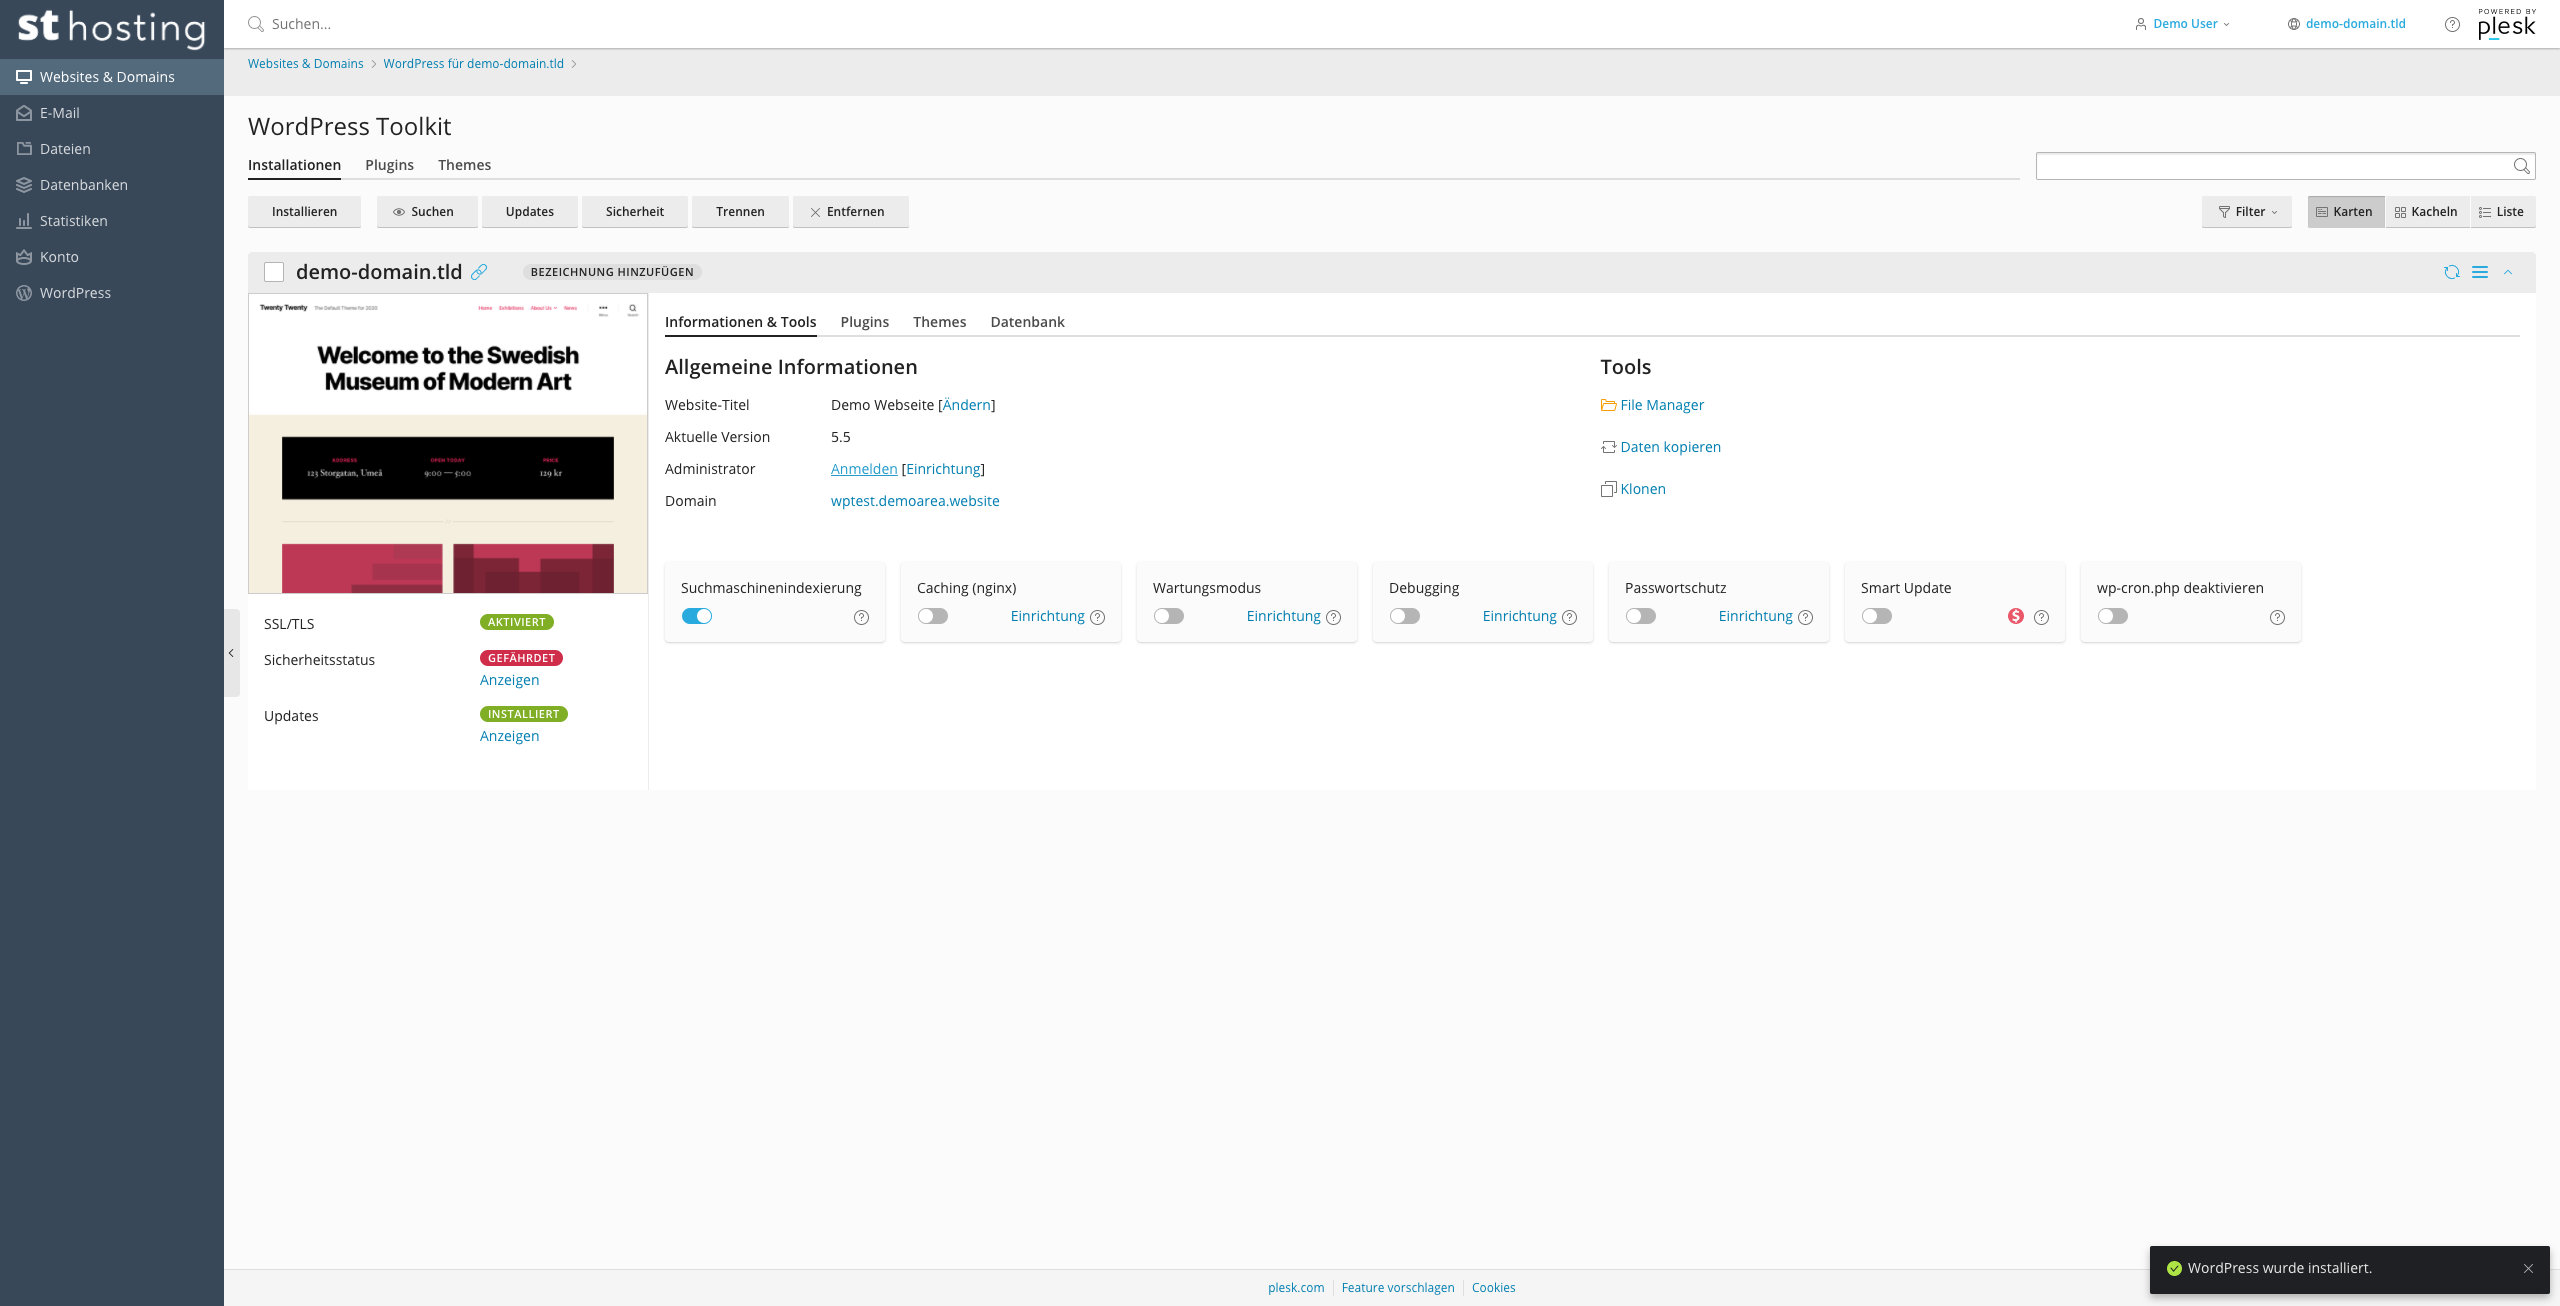
Step 3: Completion and Login
After the installation is complete, you can start installing plugins directly through the Plesk interface. Alternatively, you can do this anytime through the WordPress interface. The easiest way to access your WordPress interface is through the "Log in" link.
Important Recommendation: No SSL certificate is set up during the WordPress setup. If you haven't done so already, now is the time. You can find instructions on how to set up Let's Encrypt in our FAQ.
Option 2: Manual FTP Installation
As an alternative to the installation through the WordPress Toolkit, WordPress can also be installed manually via FTP. You would use this option, for example, if you want to run WordPress on one of our vServers.
To use this option, make sure you have:
- A web space or web server accessible via its own domain.
- FTP access to your web space.
- The ability to create a MySQL database on your web space.
Step 1: Uploading the WordPress files
To install WordPress via FTP, you first need to download the WordPress installation files to your PC. Afterwards, you need to extract them and upload them to your server via FTP.
You should exclusively download the installation files for the German version of WordPress from the official WordPress website. You can find the link to download the latest version at: https://de.wordpress.org/download/
Once you have downloaded the file, extract it into a directory that you can easily locate.
Now, you need to upload the extracted files to the DocumentRoot of your domain via FTP. In our hosting packages, the default directory for this is "httpdocs". On a vServer or with another provider, the directory may have a different name. One of the most common FTP programs is FileZilla. To upload the data using FileZilla, you need to enter your FTP access details (server, username, and password) in the top bar. You received these details via email after ordering your web hosting. After successfully establishing a connection to the server, double-click the "httpdocs" directory in the right panel of FileZilla. Then, navigate to the extracted "wordpress" directory in the left panel of FileZilla. Select all the files in this directory and drag them to the right panel. FileZilla will automatically start uploading the WordPress files. Depending on your internet connection, this process may take a few minutes.
Step 2: Creating a database
After all the files have been uploaded to the server, you need to create a MySQL database for your WordPress installation. This database is necessary to store all WordPress data such as articles, pages, users, etc.
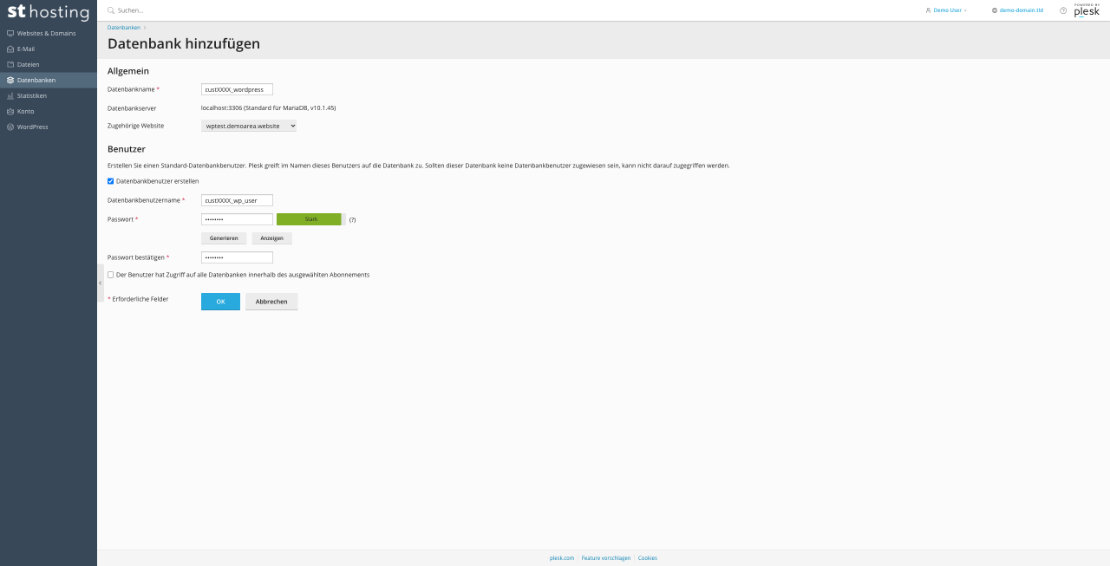
To create a new database in Plesk, you first need to log in to the Plesk interface. You can find instructions on how to do this in "Step 1: Login in Plesk". On the main page of the Plesk interface, you will find a button labeled "Add Database". On the following page, you need to provide the database name, database username, and password for your new database. Make a note of these details as you will need them during the installation process.
Step 2.1: Setting up SSL certificate (optional)
Before we proceed with the installation of WordPress, you should set up an SSL certificate for your domain. This has the advantage of allowing WordPress to be set up with SSL encryption directly, without the need for post-installation adjustments. You can find instructions on how to do this in our FAQ under "Setting up Let's Encrypt." Step 3: Installation via the browser
Now that all the preparations have been made, we can begin the installation of WordPress.
To start the installation, simply enter your domain (e.g., example-domain.tld) in your browser, and you will be redirected directly to the WordPress installation. You should now be able to see example-domain.tld/wp-admin/setup-config.php in the address bar of your browser.
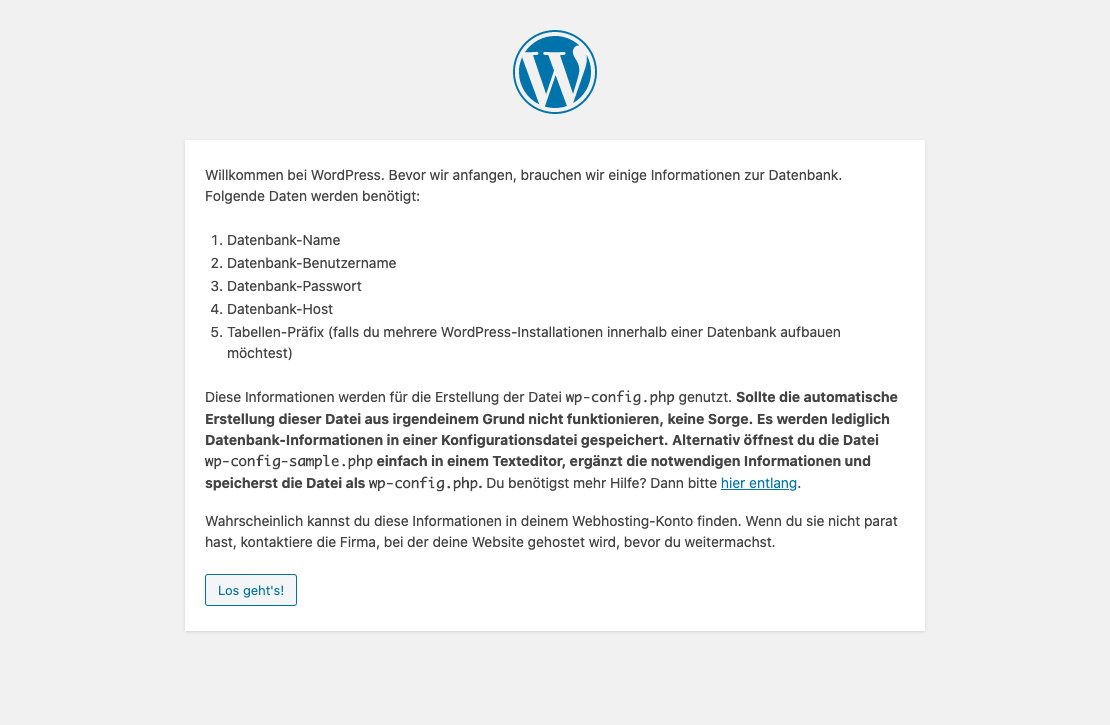
Step 4: Setting up the database connection
After clicking "Let's go!", you will be taken to the input form for the database details that you noted down in Step 2.
Replace the placeholders for the database name, username, and password with the information from your own database. In most cases, you can leave the database host unchanged as "localhost".
You can keep the table prefix as the default value "wp_". For security reasons, we recommend changing it to a random combination of numbers and letters, with a length of 6-8 characters and ending with "_".
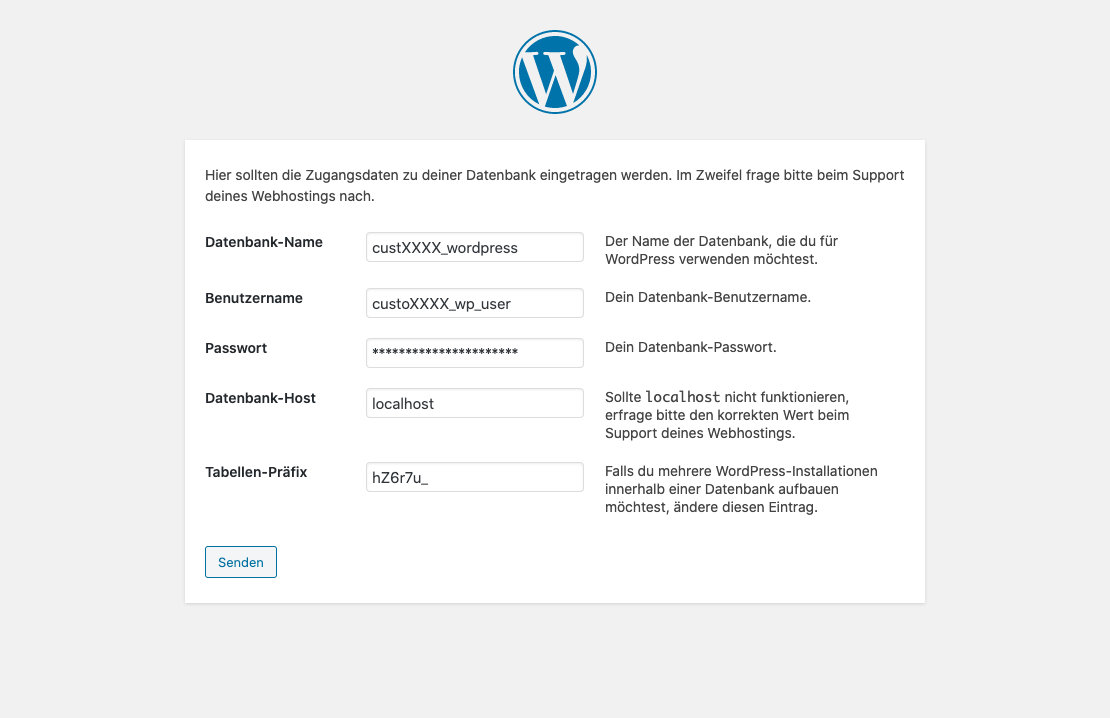
After you have adjusted all the data, WordPress will check if a database connection is possible. If all settings are correct, you should see the following view:
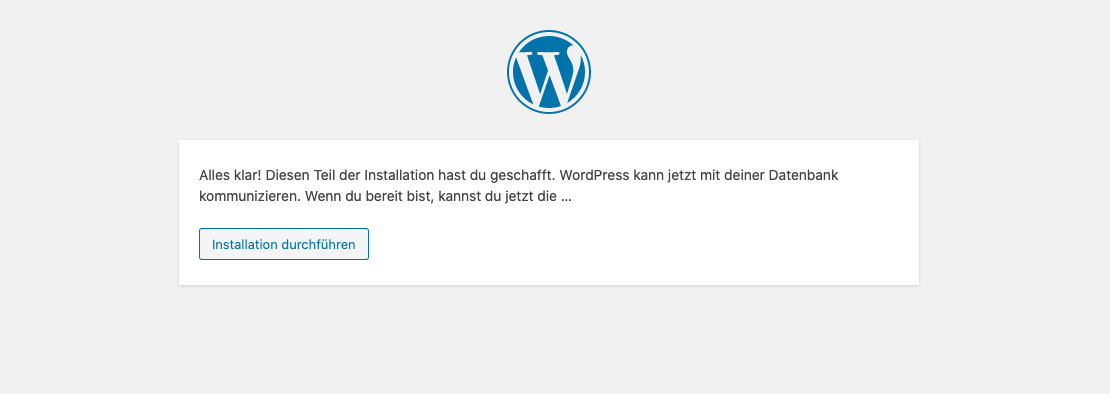
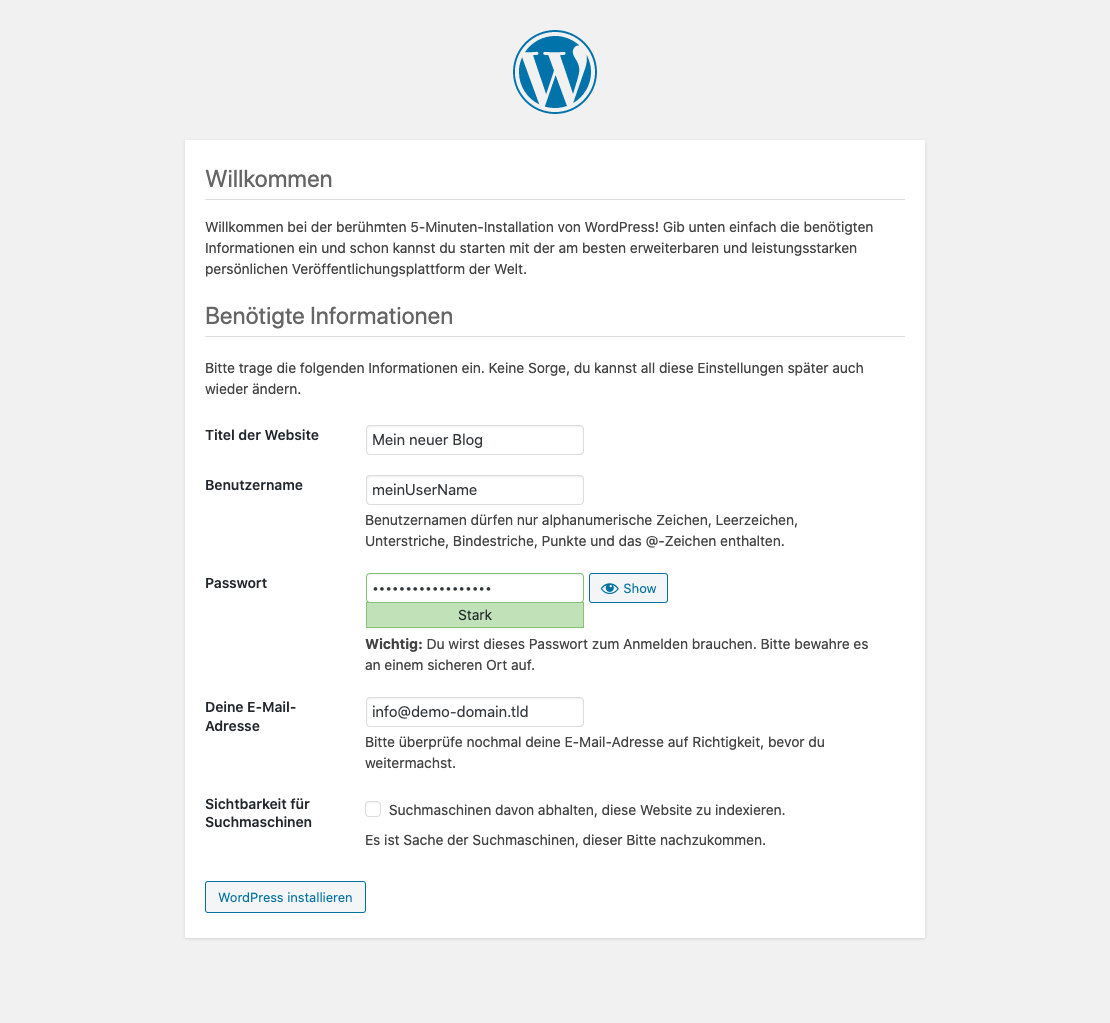
Step 5: Setting up the WordPress Site
After clicking on "Run the installation," the famous 5-minute installation of WordPress begins. In the "Required Information" section, you need to provide some information. For the website title, you should enter the name of your project or company. Next, you need to set the login credentials for the administrator account. Make sure to use a secure and cryptic password. WordPress automatically generates a very secure password, which you can use directly and save in your password manager.
If you want your website to be found in search engines in the future, you can leave the "Discourage search engines from indexing this site" option unchecked. However, this setting can be changed at any time through the WordPress settings.
Step 6: Completion and Login
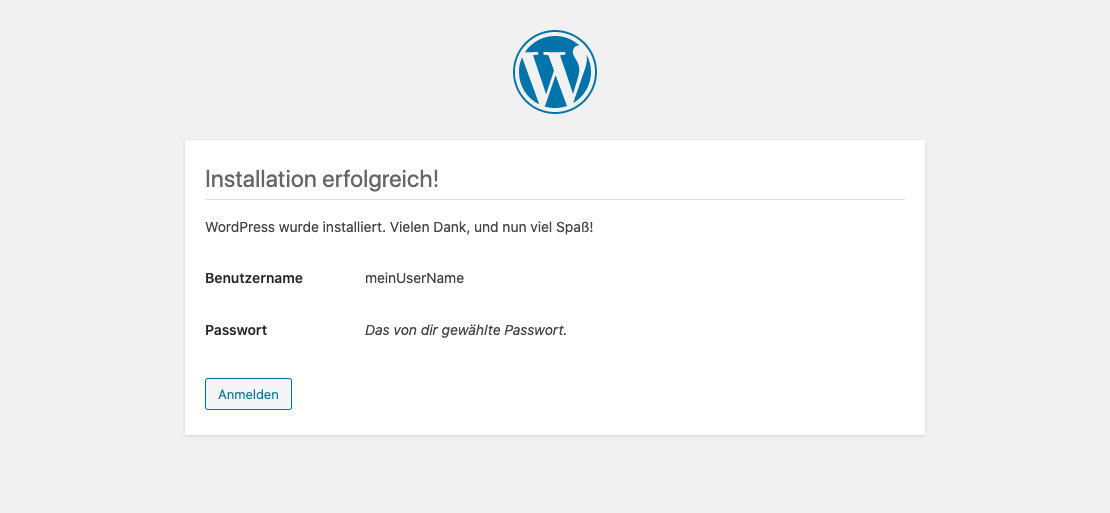
By clicking on "Install WordPress," the installation process is completed within a few seconds.
You will now see a success message along with the admin username you chose. Clicking on "Log In" will take you to the login page of your WordPress site, where you can sign in using your username and the password you previously set.
We wish you success with your new website!